Supplies Needed:
Shape of Choice
Texture ( must have some detail)
Virtual Painter Plugin
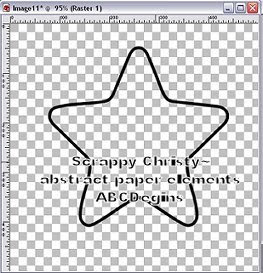
Start by opening PSP and a New Transparent image (I use Size 500x500) Select the shape you wish to use, line width 5 is what I use, you can make the line width larger if you want, foreground color black, back ground color null. Draw your shape out in the image, however large you wish it to be. Example:

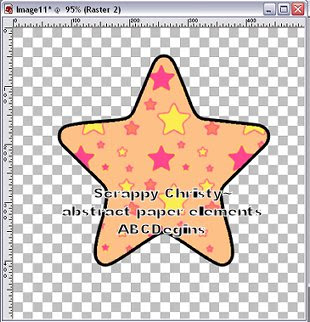
Now click on the magic wand tool, and click on the inside of your shape.you should now have ants inside your shape. go to selections modify, expand and expand by 1. Go to layers, add a new layer. Now go to your color palette and click on the background color and select pattern, and find the pattern/texture you wish to use. Click on the flood fill tool, and flood fill your shape with the texture/pattern you picked. Go to selections, and select none. Now move that layer under the layer first layer. This is now what you should have. Except with your own shape and texture/pattern:

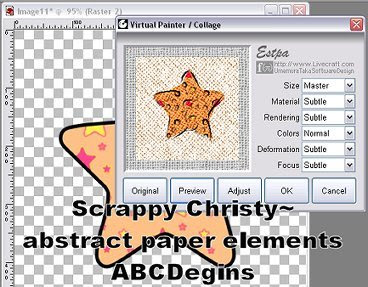
Go to Effects, Plugins, Virtual Painter, Collage. Here, click on preview and see what it looks like and play with the settings to get a look you like. Here is what the controls look like You will have to hit preview to see what your image looks like with the collage effect.

When done, merge all visible and you have now made a abstract paper element. If you want to have more in other colors just duplicate the collage layer and colorize that layer.
Example of finished product:

0 comments:
Post a Comment