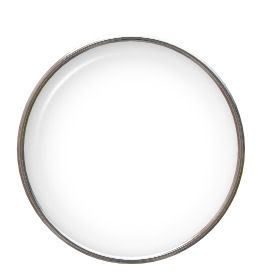
Above is what we will be making. I know it looks all jaggedy and plain but, it's not rough around the edges nor will it be plain. :O) We will be using EyeCandy 4000. This is written using PSP9 but can easily be done in other version or programs!
Let's get started....
Making a Glass Locket/Piece
by MentalNotez
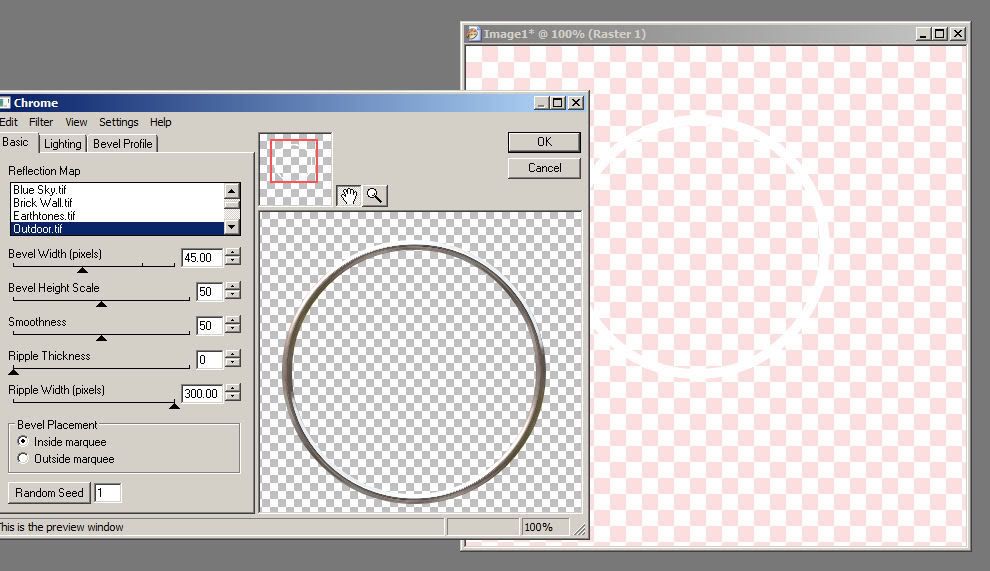
Open your psp, a transparent working space. I use 500x500 but, you can use what you are comfortable with. Add a layer! Now on the second layer you just created, we will start. Using your selection tool, circle, make sure the anti-alias IS checked!! Draw a circle the size you want. Flood with white, go to selections, modify, contract. You are making your chromed edge so, pick a contraction number that looks good to you. I used 10. Hit ok. Now DON'T deselect! Hit delete. You should have a transparent middle on your circle now. Hit selections, select none. Now, go to effects, Eye Candy 4000, Chrome and select: Outdoor: Bevel Width: 45, Bevel Hight:50, Scale: 50, Smoothness: 50, Ripple Width:300...should be the default settings and it should look like below, if not, play with it till you get the effect you like.
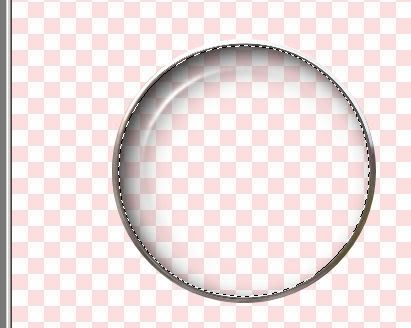
Now, using your magic wand, make sure that the Anti-Alias IS checked, select the middle, go to selections, modify, expand and expand by about 2-4. Add a layer. Now, go to effects, EyeCandy4, cut out...Make your selection transparent...play with the blur settings till you get a nice blur/darkened edge that you like. I used: Distance: 17.75, Blur 42, Opacity 80. Now, go to Eyecandy again, this time to Glass. Use a white colored glass and adjust your bevel width till you get a nice 'white' highlite near the edge somewhat. My bevel width was: 24.52. You can use a different color on your glass color if you would like to make a colored piece of glass. Play around with the settings. Do NOT deselect. You should have something like this:
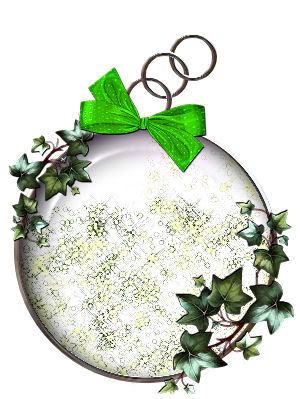
Add a new layer and put it below the current one, so that it is on the bottom but above layer 1. You can copy and paste something in there, you can paintbrush something in there, you can do what ever you like! I am going to Paint Brush and use another effect, Xenofex2-Constellation. Once I use that, I can sharpen and sharpen more to get a neat sparkly/glittery effect! You can also use embellishments to decorate...bows, flowers, sparkels, whatever you like. This is what I did with mine:
1 comments:
Yes it is nice Blog to show beautiful Memory Locket. I Love It…
Post a Comment